02 Jan 2011

Organic Fertilizer for Vegans

vegan dinner
Yum! Grow a healthy vegan meal

Organic gardening – or at least, organic fertilizer – appeals to most vegetable gardeners. In fact, one of the chief reasons for growing vegetables is to have a ready supply of healthy, natural food right outside your door.

But for the vegan (or any type of vegetarian) gardener, the ingredients in a balanced organic fertilizer may be even more of a horror than those found at the local garden center.

What’s the solution? Mix your own vegan organic fertilizer!  

It is easy and inexpensive if you buy in bulk.

Let’s look at the mixing formula first – then we can look at each component. This formula is adapted from Steve Solomon’s Complete Organic Fertilizer and from the Vegan Organic Mix recommended by The Garden Shed in the 1990’s.

VEGAN ORGANIC FERTILIZER

2 parts screened worm castings or compost
4 parts “fast” release nitrogen derived from plants (soybean meal, alfalfa meal, cottonseed meal)
1/2 part slow release phosphorus – derived from minerals (soft rock phosphate)
1 part “fast” release potassium derived from plant material (north sea kelp meal)
1/2 part “slow” release potassium dervived from minerals (greensand)
1/2 part trace minerals (crushed rock/ Rado Rock/ granite meal)

For outdoor beds, add well rotted compost to the planting area at a rate of 1 cubic foot per 10 square feet.

I try to include more than one source for each macronutrient (N-P-K). This can help balance the release times of the fertilizer and keep it working all season. Of course,”quick” and “slow” are relative terms since most organic fertilizers are not water soluable.

And here’s the beauty of organic fertilizers – we are trying to achieve a balanced mix that will feed the soil, not a chemical formula that can pass the Department of Ag inspector’s test. If you know your soil will benefit from a little more kelp and compost – add them! Building healthy soil is an ongoing process requiring observation and trial and error.

This recipe is by volume – as long as you use the same measure for each ingredient, you’ll be OK. I use it at the rate of approximately 5 lbs per 100 sqare feet – but I had to find a scale and weigh my bucket to determine that. Adding this type of fertilizer by volume (i.e., this pail size for this bed) rather than by weight is perfectly safe.

INGREDIENTS

Start with Nitrogen. Nitrogen is essential for leafy, green growth. It is also one of the most soluable fertilizer components. In organic fertilizers, nitrogen is introduced either through decomposing plant material (like alfalfa meal) or through a slaughterhouse by-product like blood meal.

You already know we’ll pass on the bloodmeal, so which plant source is best? I like to use alfalfa meal, if I can find a trusted source.  (Down To Earth from Eugene, Oregon sells a high quality alfalfa meal.) Don’t use the alfalfa sold as rabbit pellets. It has probably been sprayed with chemical pesticides. By the same token, also be wary of alfalfa meal sold as a rose fertilizer. Rose growers are not necessarily organic growers. 

Alfalfa has many benefits besides its nitrogen content. Earthworms are attracted to it – and there are few gardeners as talented as earthworms when it comes to building healthy soil. Alfalfa is also an excellent bio-activator for compost.

Soy meal is another high quality source of nitrogen. You can combine alfalfa meal and soybean meal to give variety to your nutrients.

Cottonseed meal has lately fallen out of favor with organic growers since cotton is so heavily sprayed with pesticides. According to most experts, the pesticides themselves are mainly trapped in the cottonseed oil, rather than the meal, so cottonseed meal should be safe for use in organic gardens. However, organic growers have been registering their displeasure at the level of pesticide use by avoiding cottonseed meal.

There aren’t many non-animal sources of Phosphorous. Once we drop bonemeal and fishmeal from the list, we are prettyt much limited to rock phosphate. Rock Phosphate can be an excellent fertilizer, and it should be worked into the soil of every garden. However, be aware that it may take several seasons to break down completely. If you can mix Hard Rock Phosphate and Soft Rock Phosphate together, you may have a more balanced fertilizer. Talk to your supplier about the source of the rock phosphate. It may be contaminated with other mining waste you want to avoid.

Potassium (or potash) can be readily found in both slow mineral and fast release plant form.

The #1 source for potash is nature’s miracle plant – kelp. Don’t skimp on the kelp meal. It is not always necessary to buy the highest quality, most expensive, North Sea Kelp Meal – but you do want your kelp to come from a known source.

Your retailer should know something about the origin of the product. Try not to buy kelp that comes from endangered kelp beds. Stay away from kelp that was harvested from harbors and shipping lanes: it is likely to be contaminated with diesel, at a minimum.

If you can’t afford Norwegian Kelp Meal, look for a good quality Asian Kelp Meal. You might find it for half the price of the Norwegian Kelp – with no noticeable compromise in results.

Kelp Meal is going to give your plants a ready source of potassium, for general, robust health. It also supplies abundant micronutrients and minerals for the microbial life in your soil. Without a doubt, a generous helping of kelp is one of the best things you can add to your soil.

For a slow release potassium – and slow in this case means years – try greensand. This seabed mineral not only supplies potash and micronutrients, it helps break up compaction in heavy clay soil and it absorbs moisture, reducing the need to water.

You may or may not have to add lime to your soil. This can vary from plot to plot in the same garden – and can certainly vary with the different requirements of different plants. You can test your soil pH with an inexpensive kit before adding lime.

Your final ingredient is rock dust. Most people don’t think of rocks as fertilizer – but they are the best source of minerals for organic gardens. Of course, you can’t just toss in some stones and call it good. You want finely ground – in fact, ground to dust – rock with a high mineral content. Granite dust is good. Glacial rock dust is excellent. As always – be responsible with your sourcing. Do not damage the natural environment to improve your own little plot of land.

That’s it. All these ingredients (with the debateable exception of worm castings,  which you can skip) are animal-by- product-free fertilizers and minerals, acceptable to vegetarians of every stripe. Each adds something unique to the soil structure. Microbes, worms, and other life in your soil – in addition to your plants – will all take something from the soil amendments. Mix it all together in a wheelbarrow and fork it into the top 6 inches of soil. Add compost. Water with a liquid kelp or a compost tea at least once a month.

Do this every season and you will have noticably tastier, nutrient rich vegetables, high in vitamins and minerals, as well as healthy soil.

Photograph by Fuzzcat Photo released under Creative Commons License

15 Dec 2010

Caring for Poinsettias

Beautiful Poinsettia Mix
Holiday Poinsettia Mix

You know it is really the holiday season when you begin to see poinsettias on every counter and tabletop. Few flowers say “Christmas” the way a poinsettia does. In fact, the flowers’ appearance brings so much cheer, many people want to keep them blooming long passed the holiday season.

And maybe you can.

First, if you want to extend the life of your points, it is best to live in Mexico or Southern California. Poinsettias thrive there, year round, growing as small shrubs and trees. If you live anywhere else, be sure to protect your plants from cold, drafts, winds and rain. Night time temperatures below 50 degrees Farenheit are chilly enough to kill a poinsettia.

So, if you are a Northwesterner, keep your plants indoors, well away from drafty hallways or heating vents.

Be sure to remove the plastic or paper sleeves that are used to protect plants during transport. The sleeves can restrict air flow, causing the stems to slump. If you want a nice, bushy plant, keep the air flowing around the pot.

poinsettias on counter
Leaves begin to drop

Never let the soil dry out. For many plants, drying and re-wetting is fine – but not for the poinsettia. Wilting plants rarely recover fully. If you buy your points from Plantscapes, you can have a wetting agent added to the soil, which will help keep the soil evenly moist, extending the life of the plant. But note – “evenly moist” is not water-logged. Never over water poinsettias. And take care with saucers underneath the pots or inside the foil “hat.” Poinsettias hate wet feet. You’ll notice the water damage immediately – but you won’t be able to cure it so easily.

In their native climate, poinsettia are perennial plants that can bloom for many years. Of course, the “blooms,” or bracts, are actually leaves that change color with a change in day length. Getting a poinsettia to bloom for a second year outside of California is quite a difficult feat. Just getting the plant to survive from one season to the next is an accomplishment. Most poinsettia lovers agree, it is better to treat the plants as annuals – looking forward to their appearance in late November and enjoying them until January. As the leaves drop and the once compact plant grows spindly and bare, it is time to harden your heart – and begin looking forward to next year’s crop.

BONUS FUN FACT ABOUT POINSETTIA CULTIVATION FROM WIKIPEDIA

“Until the 1990s, the Ecke family of Encinitas, California, had a virtual monopoly on poinsettias owing to a technological secret that made it difficult for others to compete. The Ecke family’s key to producing more desirable poinsettias was to create a fuller, more compact plant, by grafting two varieties of poinsettia together. A poinsettia left to grow on its own will naturally take an open, somewhat weedy look. The Eckes’ technique made it possible to get every seedling to branch, resulting in a bushier plant.

“Albert Ecke had emigrated from Germany to Los Angeles in 1900, opening a dairy and orchard in the Eagle Rock area. He became intrigued by the plant and sold them from street stands. His son, Paul Ecke, developed the grafting technique, but it was the third generation of Eckes, Paul Ecke, Jr., that really was responsible for advancing the association between the plant and the winter holidays. Besides changing the market from mature plants shipped by rail to cuttings sent by air, he sent free plants to television stations for them to display on air from Thanksgiving to Christmas. He also appeared on television programs like The Tonight Show and Bob Hope’s Christmas specials to promote the plants.

“However, in the 1990s, a university researcher discovered the method and published it, opening the door for competitors to flourish, particularly in Latin America where the cost of labor is far lower. The Ecke family, now led by Paul Ecke III, no longer grows any on farms in the U.S., but as of 2008, they still control about 70% of the domestic market and 50% of the worldwide market.”

http://en.wikipedia.org/wiki/Euphorbia_pulcherrima

Photograph by bobistraveling Photo released under Creative Commons License

Photograph by Bare Dreamer Photo released under Creative Commons License
23 May 2010

Raised Bed Gardens and Double Digging

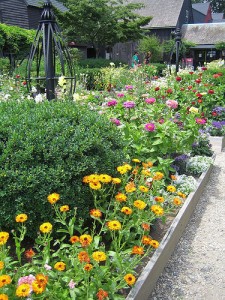
raised garden bed with perennial flowers
Raised Beds Are Great for Flower Borders

Many gardeners think of raised beds as the answer to the problem of growing vegetables in poor soil.

While raised beds can certainly make excellent vegetable beds, they need not be used exclusively for either vegetables nor in poor soil. Raised beds are a great way to grow everything.

Hands down, the absolute number one advantage of raised beds is uncompacted soil. A well planned and well-maintained raised bed will never be walked upon. The soil remains light and fluffy, allowing the roots to grow deep into the earth.

When you think about raised beds this way, you may see that the idea of building a frame and then just dumping new soil on top of old, worn out,  compacted, poor soil is really more of a recipe for a one season quick fix than a permanent new garden.

HEALTHY SOIL = HEALTHY PLANTS

Organic gardeners have a second secret they employ along with raised beds: double digging.

In a true double dig, the soil is loosened to a depth greater than 12″. The gardener first digs a trench a spade-head deep (approximately 12 inches) the entire length of the bed. The soil is removed and placed in a wheelbarrow or similar storage container. The gardener then works the trench with a digging fork, loosening and aerating the soil for another 12 inches. (Be sure to check for buried electrical cables before doing this!)

When the first trench is complete, dig a second trench right next to it. Fill in the first trench with the soil you remove from the second. Continue in this way until the entire bed has had the top 12 inches of soil turned and the second 12 inches loosened.

As you might imagine, this can be back breaking work, especially if you begin by removing sod. 

However, putting light soil on top of compact, heavy soil is not too different than putting your new garden beds directly over concrete. It is very difficult for water, fertilizer, and roots to penetrate heavy, compact soil.

Fortunately for those of us without strong backs, there is a middle ground. You need not do a full double dig to prepare your raised bed.  Even a short course of turning and improving the soil will yield improved results. Use a spade and garden fork to turn the soil and mix compost into the top three inches of the original soil. Wiggle your digging fork around to aerate and loosen the soil.

Once you’ve loosened the soil, build your frame(s) and add the new soil.

Be sure that you can reach to the center of the bed from either side. You never want to actually step into the bed or onto the soil once the garden is started. Leave garden paths between and around the beds. If your paths are grassy, be sure they are wide enough for a mower.

Photograph by psd Photo released under Creative Commons License

03 May 2010

Pot and Container Sale

Plantscapes in having a pot and container sale on Thursday, May 6.

The sale will be going on all day in the Plantscapes South Warehouse.

Old containers, unused containers, pots returned from rentals and leases – all will be on sale at significant savings.

First come – first served!

This is a great opportunity to pick up large, hard to find pottery for your home or garden.

COD – cash only. All sales are final.

(Picture does not show the actual pots on sale)

Address: 1127 Poplar Place South, Seattle, WA 98144
Business Hours: 8:00 AM to 5:00 PM
Phone: (206) 623-7100


View Larger Map

13 Apr 2010

How To Read A Fertilizer Label

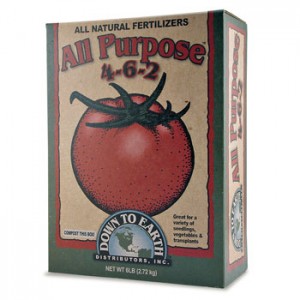
Down To earth Multi-Purpose Fertilizer
A balanced, multi-purpose fertilizer

Every gardener has seen the three big numbers on the front of a fertilizer bag or box.

Most know what the numbers stand for (in order): Nitrogen – Phosphorus – Potassium, also known as N-P-K.

These ingredients are always listed in this same order.

The higher the number, the higher the water-soluble percentage of that ingredient in the fertilizer. For instance, Sulphate of Ammonia, rated at 21-0-0, is 21% soluble nitrogen. It contains no potassium or phosphorus.  On the other hand, something like SuperPhosphate, rated at 0-20-0 contains 20% phosphorus but no nitrogen or potassium.

Why should we care specifically about these three elements over all others? What exactly do they do?

  • Nitrogen promotes green growth above the soil.
  • Phosphorus promotes flowering, blooming, and root growth
  • Potassium promotes general vigor with compact, robust growth.

These attributes are sometimes learned by the memory aid, “Up, Down, All-Around.”

DON’T GARDEN BY THE NUMBERS

So do higher numbers equal better fertilizers?

No!

Healthy plants grow in healthy soil.

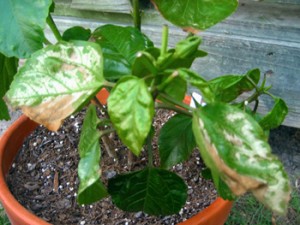
fertilizer burn
Fertilizer Burn

Soil amendments and fertilizers certainly play a role – sometimes the crucial role – in promoting plant growth. But highly soluble, super-concentrated ferilizers can actually harm plants, the soil, soil microbes, and the environment.

Fast release nitrogen can burn seedlings. You’ve probably seen plants with brown edges on their leaves. That can be a sign of fertilizer burn.

Further, highly soluable fertilizers wash through the soil quickly, leaving little or no nutrients behind for continued growth.

And finally, high concentrations of phosphorus run-off can pollute water and kill fish.

FERTILIZE TO MEET PLANT NEEDS

While N-P-K gets all the glory on the label, other ingredients, such as minerals and trace elements are just as important to the health of your plants. Use the Big Three numbers on the front of the bag as a guide.

Then turn the bag or box over and look at the rest of the ingredients. A long list of nothing but unpronouncable chemicals is unlikely to promote a healthy environment. On the other hand, trace minerals and other insoluble elements will bind with the organic matter in your soil. They are unlikely to wash out as quickly, and so may slowly release nutrients to your plants throughout the growing season.

FEED THE WHOLE GARDEN, NOT JUST THE PLANTS

compost worms
Nature's Perfect Gardeners

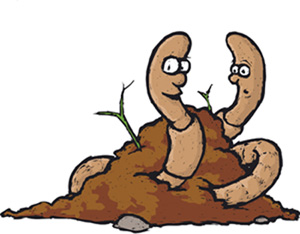
Soil rich in organic matter will also be rich in life – most clearly illustrated by the presence of earthworms. Burning, quick release fertilizers kill worms, leaving you with dead soil that demands constant re-fertilization. Compost and minerals, in contrast, provide food for the worms, who turn it into one of nature’s richest fertilizers: worm castings.

Organic fertilizers tend to have “lower numbers” than chemical fertilizers, in part because organics are less water soluble. And yet, that very fact gives them an edge in promoting sturdy, compact plants with deep roots – plants more able to resist insects and disease.

GOING ORGANIC

Do you have to be 100% organic to have a healthy garden? No, of course not.

But you’ll find that shifting your focus to organics will, over time, build healthier soil. As your soil improves, your plants will improve. You’ll be less tempted to reach for pesticides, and the beneficial insect population will be able to do its part in keeping insect damage down.

10 Mar 2010

In Praise of Lawns

rotary mower
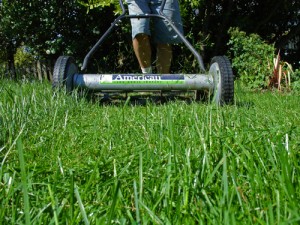
A Quiet Push Mower

You might not expect it – but lawns are rife with controversy.

For many, mowing the lawn is a tedious chore. For others, the smell of freshly cut grass is the very essence of summer.

Some people think watering the lawn is a waste of a precious resource. Others can’t image allowing their lush, green turf to go dormant and brown.

Some homeowners douse the grass with weed and feed and keep the blades of grass golf course short. Others swear by slow release organic fertilizers and won’t consider a cut shorter than three inches.

TAKE THE GRASS POP QUIZ

  1. True or false – lawns are so suburban; xeriscapes are hip and urban.
  2. What looks better – bluegrass or rye grass?

Did you think there would be a correct answer? Sorry.

Aside from the generally accepted belief that grass is green, almost anything you say about lawns will engender a passionate argument from someone.

LAWN LOVERS TAKE HEART

Whatever your outlook, here are a few facts about lawns that may surprise you:

barefoot in the grass
Barefoot In the Grass
  • A well-cared-for lawns can significantly increase property values.
  • A 50-foot by 50-foot lawn produces enough oxygen for a family of four
  • Lawns cool the atmosphere.
  • Eight healthy front lawns have the cooling effect of 70 tons of air conditioning, which is enough for 16 average homes.
  • Grass converts carbon dioxide to oxygen, a process that helps clear the air.
  • Dense, healthy grass slows water runoff, removing contaminants, returning fresh, filtered water to the underground water supply

GREEN AND CLEAN

An organically maintained lawn is one of the best ways to care for the environment! You’ll trap greenhouse gases, remove contaminants from the water supply, and lower electricity consumption in the summer.

Here’s the secret to a healthy lawn: rich soil.

Really, there is no mystery to what keeps a lawn green – deep roots in soil rich in organic matter will produce healthy plants, whether those plants are thousands of blades of grass, a few tomato plants, or a dozen rose bushes.

Smothering your lawn in weed and feed kills the micro-organisms that build healthy soil. Dead, compact soil – without worms or other beneficial insects – must be forced, over and over, to push up new growth. The grass in such a lawn is always fragile and in danger of damage from rough use or disease.

girl in grass
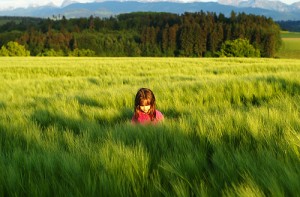
A Young Girl Plays In A Field Of Grass

But a rich, aerated soil allows the roots to penetrate deeply.

The grass can take up nutrients slowly as minerals and organic matter break down. The soil holds water. The healthy top growth mirrors the vibrant life below the soil surface.

Healthy lawns invite us to kick off our shoes and walk barefoot through the grass. Kids can play, adults can just sit in the sun (or shade) and enjoy the day.

FIVE RULES FOR AN ORGANIC LAWN

1. The first rule of organic lawn care is the world is not divided into grass and weeds. Diversity is healthy. Monocultures are fragile. For instance, clover can be very beneficial when mixed with lawn seed. Clover returns nitrogen to the soil, and it can keep your lawn looking green and lush with minimal care. So don’t reach for the weed killer at the first hint of “weeds” in your grass.

2. The second rule is: pull the dandelions, don’t poison them. Dandelions are so persistent because their tap roots grow deep into the sub soil. If you dig the roots, instead of destroying the top growth, you’ll not only eventually get rid of your dandelions, you’ll aerate your soil.

3. The third rule of organics is the golden rule: add compost. Return nutrients and organic matter back to the soil. If you have a mulching mower, leave the grass clipping on the lawn to decompose. If you rake the clippings up, compost them and then spread the compost in the fall and spring.

4. The fourth rule is feed the roots, not just the tops. Don’t dump pounds and pounds of high nitrogen fertilizer on your grass. Yes, it may make it look greener, but it is a short-lived pleasure. The short top growth of a manicured lawn is mirrored below the soil, where the roots are shallow and thin. Use slow release minerals, like rock dust, greensand, bone meal, granite dust, and rock phosphate to feed the roots.  These minerals will last many seasons, building strong roots and healthy soil. Look for slow release, organic sources of nitrogen as well. If you need some instant gratification, an organic tea can do wonders for a lawn in need of a quick pick me up.

5. The fifth rule of organic lawn care is water deeply. Turning on your sprinklers for 15 minutes every day just wastes water. The water thrown into the air will evaporate more quickly.  The water on the ground will not have a chance to penetrate and may drift onto sidewalks and gutters. Instead, water early in the morning. Use low rise sprinklers. Monitor run off. Adjust your watering schedule according to the season. Use enough water to penetrate about 6 inches deep into the soil – but don’t water so much that the soil turns muddy and soft.

Barefoot in the Grass by saragoldsmith Photo released under Creative Commons License
Girl in Grass Field by Bill Liao Released under Creative Commons License
03 Mar 2010

Time to Renovate Your Turf

If you manage a commercial landscape, you know already know that spring is the time to renovate your turf.

You’ll soon see Plantscapes’ crews at work, aerating, reseeding, and fertilizing the grass around Puget Sound. (If you’d like a bid for your property, just contact Landscape Division Manager John Higgen at 206-623-7100)

However, many people do not realize that your home’s lawn will benefit from the same treatment – and you don’t need heavy equipment to do it.

As grass gets walked on, the soil underneath becomes compact. This makes it more difficult for the roots to take up nutrients and for water to soak deeply into the soil. Instead of burrowing down deeply, the grass’ roots stay shallow. Water runs off or evaporates.

Grass in this condition is more easily damaged and is more susceptible to disease. Fortunately, anyone can renovate their lawn over the course of a weekend.

aerating a lawn
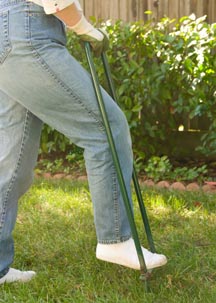
A tool like this pulls plugs and aerates the lawn

You can buy a small, manual aerator for smaller lawns or rent a larger aerator for larger area.

The aerator will pull plugs from the soil, breaking up the compact, dense mass. You can leave the plugs on top of the lawn, where they will decompose and add organic matter back to your topsoil.

When the grass has been aerated, apply a good, organic fertilizer. You want to encourage root growth in the spring, so you don’t need a fertilizer high in nitrogen. Look for a well-balanced mix. If you have acidic soil (most people in Puget Sound do), add lime as well.

Overseed bare or thin patches with a good quality grass seed. Remeber, rye grass varieties do well in full sun. Fescues are better suited to shade. If your lawn doubles as a play area for kids, make sure your seed mix has grass that can stand up to foot traffic (i.e., more rye grass, less bluegrass).

Finally, add a topdressing of compost to your lawn to build the organic matter. Don’t lay this on so thickly that it smothers the grass. And do make sure that it is well rotted compost – you don’t want to burn tender shoots with a hot chicken manure!

If you follow this routine every spring and fall, you’ll have a lush green lawn that is thicker, requires less water, is resistant to disease – and yet requires less frequent mowing and watering.

They key is to always encourage strong root growth rather than to force weak top growth.

24 Feb 2010

Scenes from the Flower & Garden Show

The 2010 Flower and Garden Show is over.

If you had a chance to visit the show, you know how many amazing displays there were. The creativity is boundless. No one comes away without a thousand new ideas for their garden.

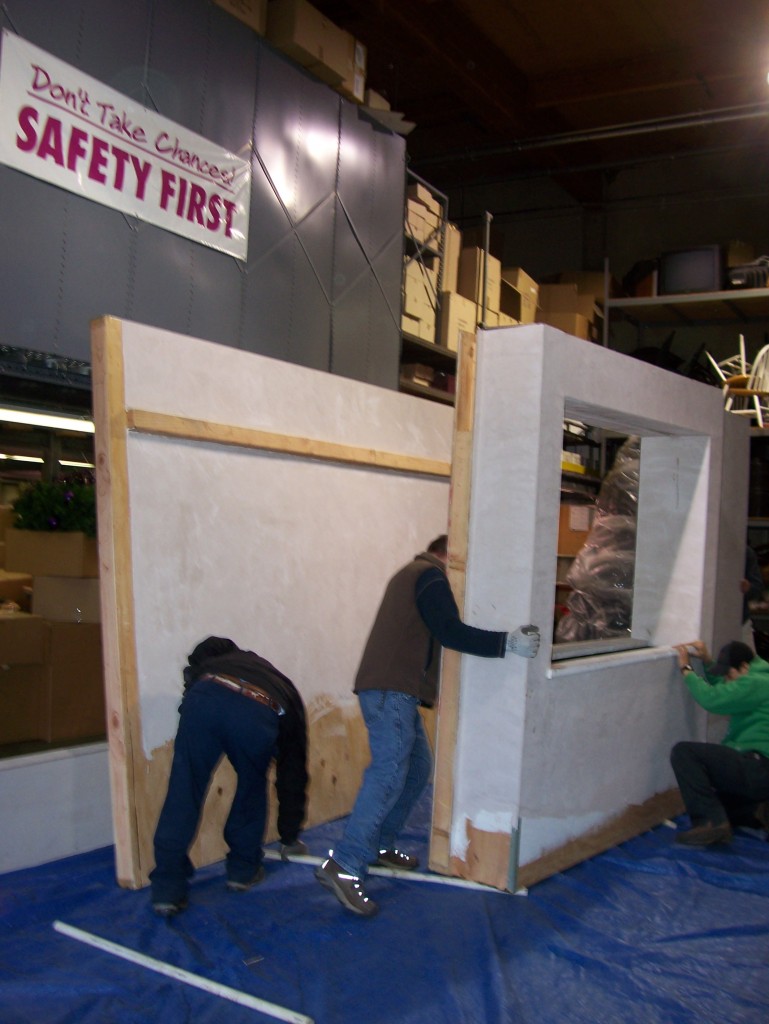
Now that you’ve seen the final product, we thought you might enjoy a behind the scenes look at how the WALP display came together this year.

BEFORE – BUILDING THE DISPLAY

walp 2010 flower & garden show display being built

the walp exhibit at the 2010 flower & garden show being built

the walp exhibit at the 2010 flower & garden show being built

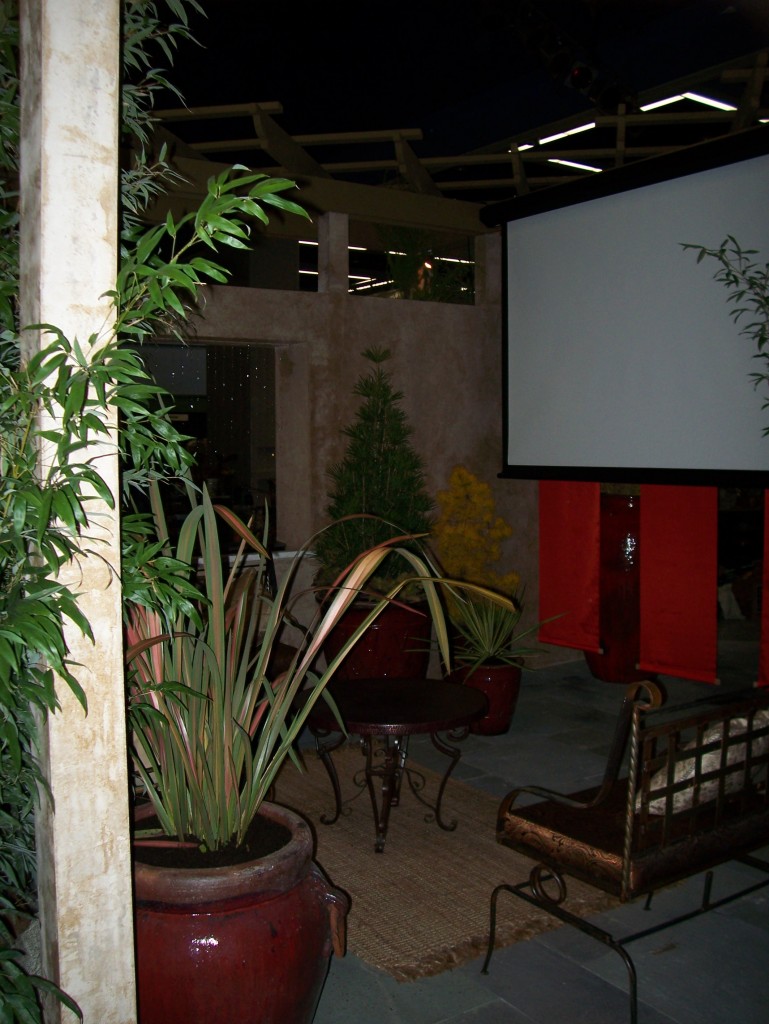
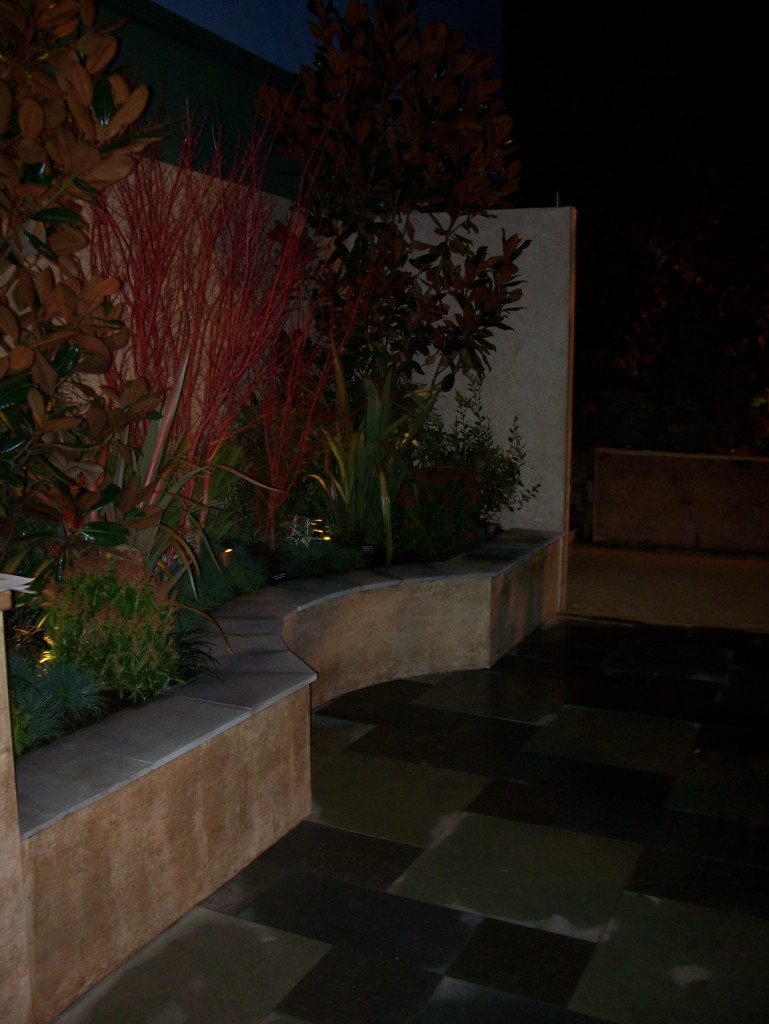
THE WALP DISPLAY AT THE 2010 NORTHWEST FLOWER & GARDEN SHOW

the walp exhibit at the 2010 flower

the walp exhibit at the 2010 flower

the walp exhibit at the 2010 flower

17 Feb 2010

March Is Customer Appreciation Month at Plantscapes

bark mulch being delivered
Cheaper By the Yard

March signals the return of spring. Crocuses are blooming. Grass is growing. Trees are in bud. If you love nature, you can’t help but love spring.

Which is why we designated March as Customer Appreciation Month here at Plantscapes.

Even though we’ve had a very mild winter this year in the Puget Sound, your landscape is probably ready for a good, old fashioned “spring cleaning.” One of the most important steps you can take in getting your landscape ready for the new growing season is to renovate the mulch.

After a year of weathering, bark can get “worn out.” Some has been blown or tracked away. Weed seeds, litter, and insect egss may be lurking just below the surface. In short, the bark mulch can no longer do the job it is designed for.

A fresh layer of mulch not only re-invigorates the landscape, it adds a fresh, clean look to your beds and trees.

Until March 31, Plantscapes clients will receive 15% Off on any bark order.

This is a great way to kick off spring. If you are interested, just give us a call: 206-623-7100

Photo by jspatchwork Released under Creative Commons License.